Showing posts with label Pattern Reviews. Show all posts

Thursday, April 23, 2015

Pattern Review: The Kentucky Bag

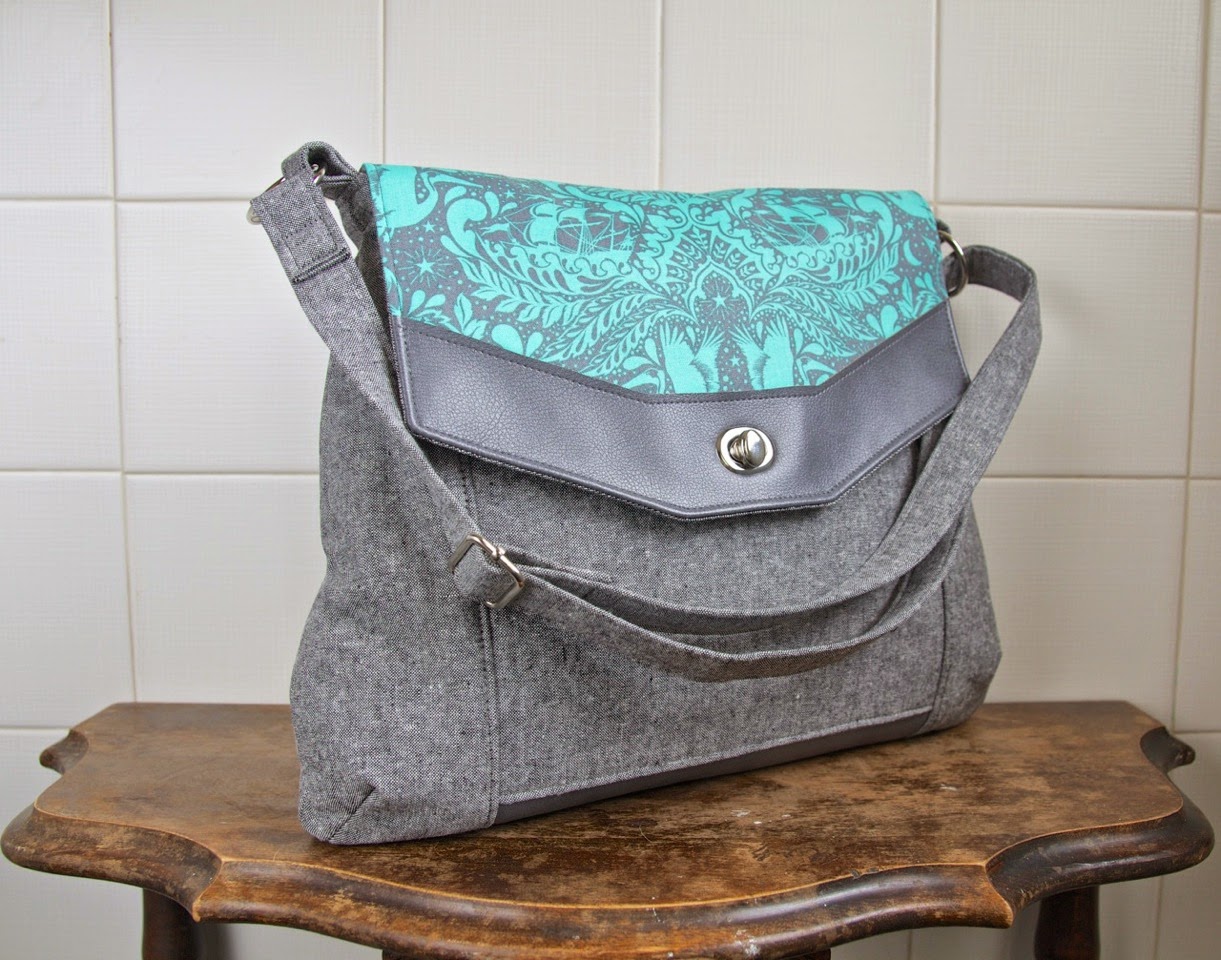
I almost feel guilty writing a review for this pattern because it is no longer available and I've heard a lot of regret from my fellow sewers who were not able to buy it. This pattern is from Numbskull patterns and although they are no longer being sold, it is such a great bag that I wanted to review it regardless!


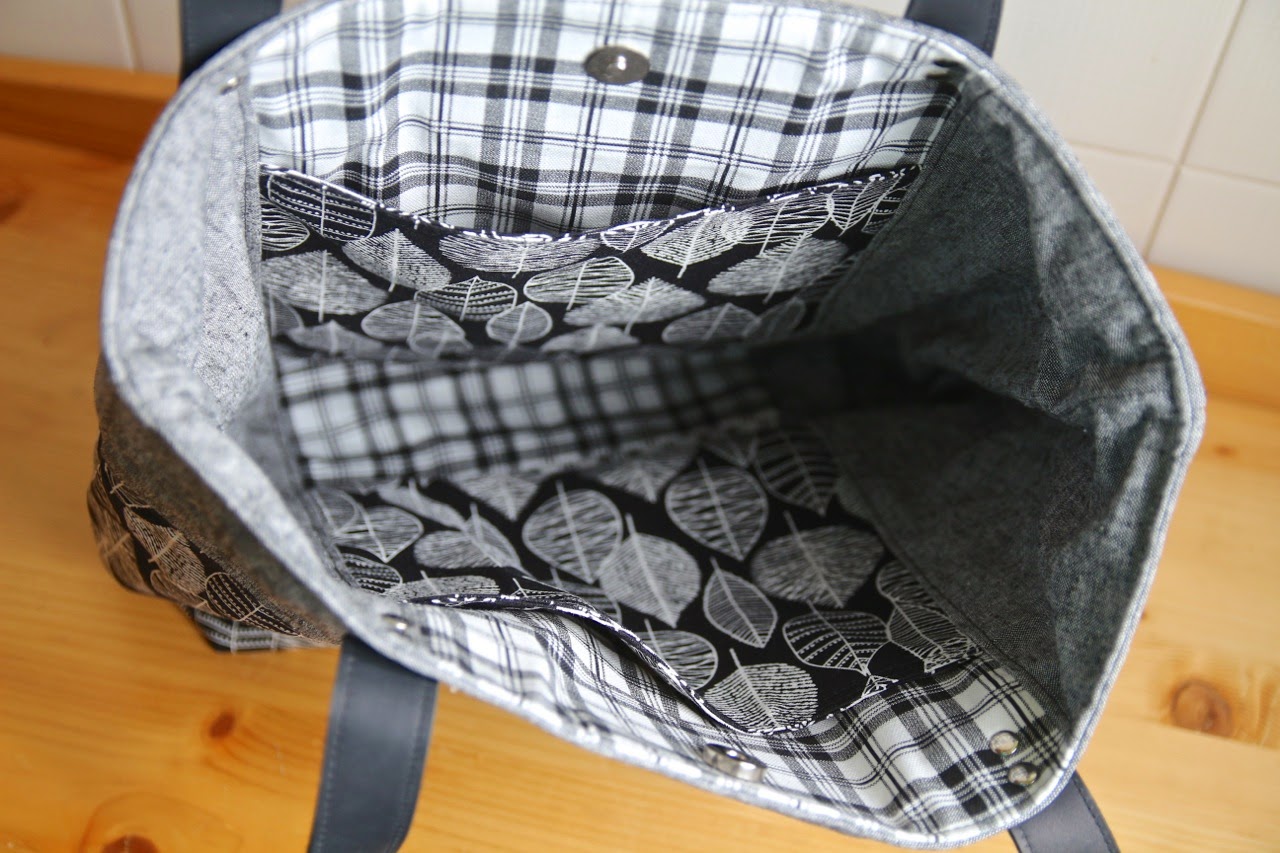
I've made 2 Kentucky bags so far and although they take a while to sew, they are worth it in the end! There are a total of 4 zippered pocket in this bag. There are 2 exterior pockets: 1 under the flap and 1 on the back.

Zippered pocket under the flap

Zippered pocket on the back exterior

 And 2 additional zippered pockets inside the bag.


The exterior and interior shells are constructed exactly the same way except for the twist lock you add on one exterior zippered pocket.

There are many pieces to cut, interface and assemble to put together all of these pockets. I really loved the accent strip on the bottom of the flap but I was not able to use faux leather as I wanted to with the first bag because it was way too bulky so I ended up using yarn dyed essex linen instead.

With the 2nd bag, I figured out how to use faux leather. I just cut one strip of non-fraying faux leather and removed what would be the 1/2 inch seam allowance on the pattern piece and topstitched it to the bottom of the flap. It worked great and there was no bulk at the seams.

The only thing I did not like about the bag is again the 1/2 inch seam allowance. This is a personal preference for me but I do not like having to watch that little mark on my sewing machine. I like to sew with a 3/8 inch seam allowance - which is essentially the edge of my presser foot - because I can then focus on the quality of my stitching.

This is also not an inexpensive bag to make. The cost of 4 zippers plus the twist lock and metal hardware for the strap and all of the interfacing used makes this a more expensive project. But again, the results are worth it!


Tuesday, March 10, 2015

Pattern Review: The Caravan Tote

While browsing a fellow Canadian's sewing blog recently, I discovered the Caravan tote pattern by Noodlehead. I have thought about designing a tote bag pattern many times but was never really inspired by an idea. I immediately loved the look of this tote bag and decided to give it a try!


Like all patterns by Noodlehead, the instructions were clear and easy to follow. Although the pattern piece dimensions were provided, I am lazy and prefer to print out the pieces and cut my fabric that way.

However, I did make some modifications because I was missing some notions. I didn't have a 14 inch metal zipper and I thought that the metal zipper in her photos really improved the appearance of the bag. So I ended up using a 12 inch zipper and just increased the width of the zipper tabs. It worked out perfectly!

I also didn't have size 24 snaps so I ended up using some of my cowgirl snaps. They aren't as prominent on the flap but I like that I can match them with the fabrics I used.

I also decided on using real leather for the straps AND I added a leather rectangle to the bottom of the bag. I like to set my bag down and I don't like doing that with fabric bags - they get dirty so quickly! So I stitched up the bottom seam first, pressed the seam open and then stitched on a leather rectangle that matched my straps. I then continued sewing the sides and corners of the bag.


I ended up adding an additional slip pocket inside the bag. It seemed like such a shame that a large bag would only have one slip pocket so my tote has 2.


This bag sews up fairly quickly and it is quite easy to make. The only thing I didn't care for (and this is just my personal preference) was the 1/2 inch seam allowance. I really prefer a 3/8 inch seam allowance because it is so much easier to follow the edge of your presser foot rather than follow a guide line. Again, maybe just laziness on my part!

I plan on making more of these beautiful tote bags! I don't currently carry tote bags in my Etsy shop and my customers seem to really love this design.


Saturday, January 17, 2015

Pattern Review: India Hobo Bag

Even though I am a pattern designer now,  I still LOVE to try out other patterns. Sometimes I get inspired for a pattern of my own or I learn about a new technique. I make sure to never copy someone else's work. I know the time and effort that goes into coming up with a new design, drafting pattern pieces, sewing sample bags, photographing, writing the PDF. It is time consuming!

I recently tried out the India Hobo Bag. I was looking for a larger bag for myself because I do tend to carry small to medium sized bags and they tend to get a little stuffed. I was so pleased by how easily this bag sews that I made a few for my Etsy shop. The pieces just seem to line up perfectly when sewing!

Faux leather bottom, bleached twill, canvas

Denim and linen bag


This pattern allows you to make hobo bags in 2 different sizes. I only made the large size but I could see the smaller size being very roomy as well. There are 2 very large open pockets on the outside and I made another one of those large pockets on the inside plus a zippered pocket. You could make it with 4 open pockets AND a zippered pocket but I chose to leave more space on the inside.

One large open pocket and one zippered pocket


There are so many possibilities for this bag in terms of fabric and pattern placement. I used a patterned linen on the underside of one strap and I thought it was a very nice touch. The strap itself is really nice and wide so if you're carrying heavy items, it will definitely be more comfortable. The strap length is not adjustable and I did find it was a bit low on my body (I am 5'6") so it may be not ideal for shorter folks but that really is personal preference.

Beautiful feather print on the underside of the strap!


This is not a stiff bag. It is definitely meant to be slouchy! I think it could be made stiffer but would not look quite right. I just interfaced with duck canvas which resulted in the perfect amount of stiffness and structure. I tried a variety of exterior fabrics: faux leather, denim, linen. They all worked out without any issues!

Faux leather option!

What would I change about this bag? I think I need some kind of closure for the top. Probably just a magnetic snap or a button/loop closure would do the trick but when it sort of just hangs open, I get worried that things will fall out. Other than that, I love this bag!


Monday, April 7, 2014

Pattern Review: Natty Janes Leather Baby Shoe

I haven't sewn any new baby items in quite a while but when this pattern popped up in my Facebook news feed I could not resist. Some friends of ours are having a baby girl in a couple of months and I thought this would make a great gift!

I also happen to have TONS of leather scraps in my sewing room so I picked out 2 coordinating colours and went to work. The pattern pieces are simple to print and cut out. The instructions are clear and simple. Sewing with leather is not very easy though.

I used very soft lambskin leather for the shoes' uppers and that tends to really shift and move around when you're sewing with it. So I did line my shoes with felt as suggested in the pattern and whenever I could, I did my sewing with the felt side up which really helped. I used a stiffer cowhide leather for the soles in a neutral beige colour.

I decided to go with the simple mary jane style of shoe and added some straps that matches the toe caps.  The tops of the heels did not line up perfectly which really irks me as I like things to be perfect. I used pearl snaps for the straps and one of them is not exactly in the position I would have liked but since leather does not forgive, I could not remove it and change the position. Of course, for my first pair they are far from perfect. But it's not bad for a first try!


Now Mr Blue Calla mentioned that perhaps my colour choices are not appropriate for a baby girl. I personally love using anything other than pink. Would you put these on your daughter? Should I make a pair of red ones instead? Brown ones?

If you'd like to attempt making your own, here is the pattern.

Friday, June 1, 2012

Convertible Clutch Pattern Review

I was browsing on Pinterest today and came across this pattern for a convertible clutch by LBG studio. I love bags that can be used in more than one way as you can probably tell by my convertible bags. So on a whim, I bought the pattern and since it was a rainy day I figured it was the perfect time for a small sewing project.


The pattern is very easy to follow and I think this bag could be made by beginners. I did make some changes to the handle because I like my handles very sturdy so I inserted 2 pieces of heavyweight Pellon interfacing (the sew in kind) into each handle at the last step where you sew the top band onto the body of the bag. The pieces were approximately 7 inches x 1 inch. It did make for some thicker sewing but Pellon is so easy to sew through and I like how sturdy the handles are now.

Another change I made was to insert the magnetic snap to the lining pieces before attaching the lining to the outer shell. It just made more sense to me and I always make bags this way.

This bag is a good size at about 11.5 inches wide x 8 inches high to the bottom of the handle and about 3 inches deep when it is unfolded. It comes with a small pocket inside that is the perfect size for a phone.


I'm not sure if I will start producing these for my Etsy shop but I did enjoy making it. You can buy your own version of this pattern here.

Sunday, September 11, 2011

Pattern Review: Strap Clutch by Keyka Lou

Whenever Michelle from Keyka Lou releases a new pattern, I am ON IT. I love her patterns. They are super easy to sew, the materials are easy to find, the styles are always great, the items are useful and my customers really love them. I find it easy to alter them if necessary and I always find a way to give them my own personal touch.

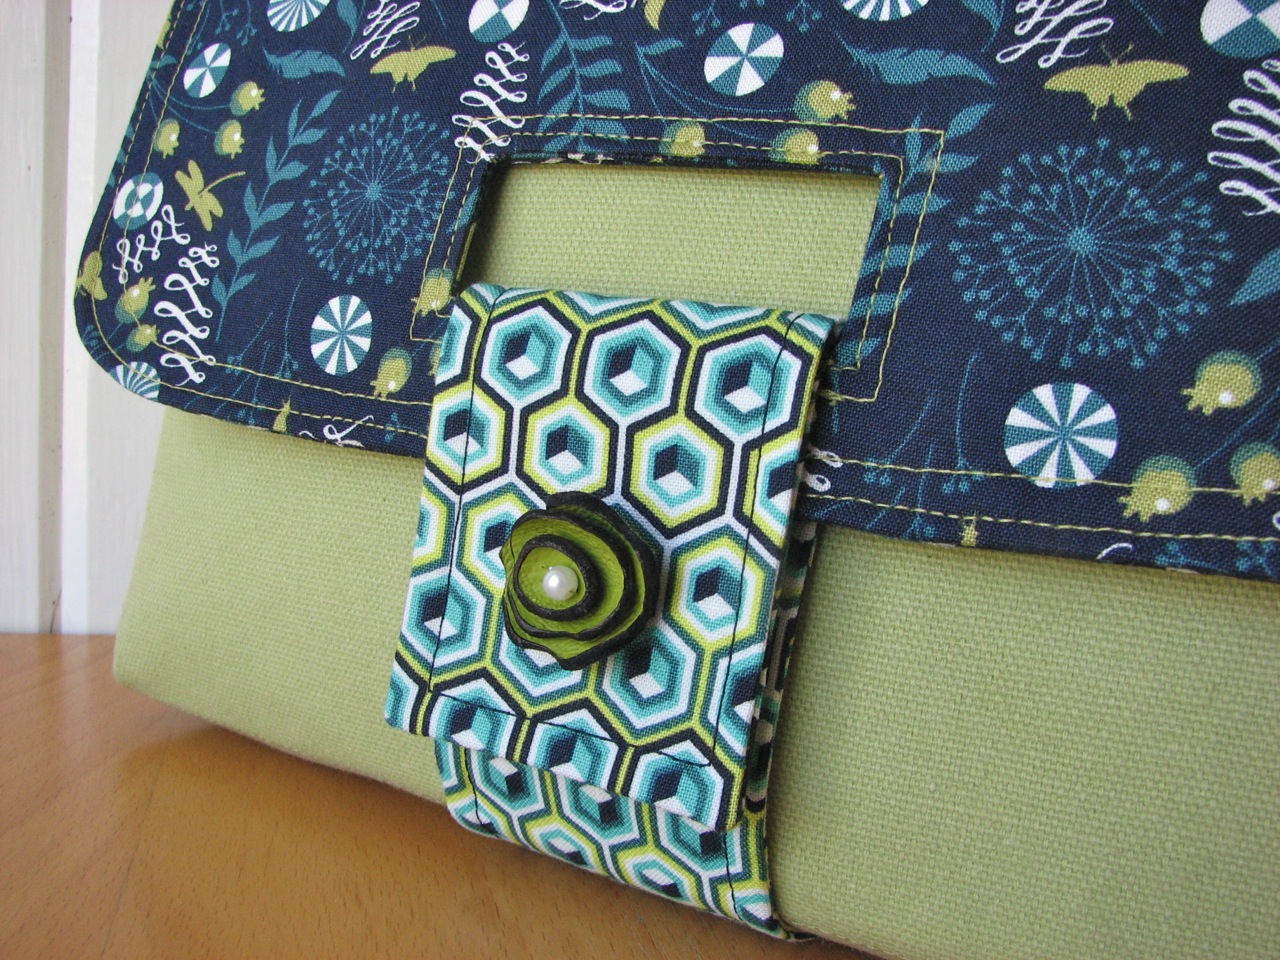
The latest pattern is called the Strap Clutch and it is a very BIG clutch with a unique flap/strap closure. She has designed a flap that has a rectangle shaped opening created using the same technique as the handles on her Dewdrop Handbag, Bracelet Bag and Charm School Handbag. She then added a strap that comes from the bottom of the clutch with a velcro closure that loops into the flap's opening.

I love the ability to add some stitching to the bottom of the clutch and the technique she used to box the corners adds a lot of personality.

For my first attempt, I decided to try out my new Prince Charming fabrics by Tula Pink and a green cotton canvas for the body. Of course there are tons of different interfacings out there but my latest fave is Pellon 70 sew-in which I used to reinforce the body. It makes a really nice sturdy bag that is very light. For the flap and inside slip pocket, I used my Crafter's Choice fusible. I can usually read the pattern once and sew it by memory but this time, there are a few steps that were new to me so I printed out the instructions to follow.

I did make a few changes: I added fusible interfacing to the small pieces of fabric used to make the cut out in the flap pieces (I find it easier to work with that way and reinforces the opening a bit more) and I added a leather blossom to the strap instead of a button. I also omitted the buttons on the corners - mostly because I had nothing that matched! For the inside pockets, I just created 2 larger slip pockets instead of the 1 large pocket with 2 pen pockets. And last, I added a lobster clasp to attach keys so they don't get lost in the clutch.

My finished product:


I am certainly going to make more of these. I plan on trying some with a cross-body strap as well to make a mini-messenger. If you would like to buy the pattern, you can do so here. Make sure you read Michelle's blog as well. I noticed she added some posts with alterations to the original pattern. :)