Showing posts with label bag pattern. Show all posts

Wednesday, July 8, 2015

New pattern: The Orchid Waist Bag

I noticed recently that I saw a lot of people walking around with small bags that to me, resembled fanny packs but that they were being worn on the back instead of around the waist. I had an ah-ha moment and decided that someone needed to design a pattern to replace that old unpopular "fanny pack" and come up with something more modern. And so I came up with the Orchid Waist/Sling bag!


This bag is a nice size and full of awesome features:
  • adjustable strap so the bag can be worn around your waist or on your back
  • main compartment with a zippered closure
  • 2 slip pockets inside
  • large front exterior pocket with a flap that also has a built in zippered pocket

Measurements for the bag are 11.5 inches W x 8.5 inches H. I can see this as a unisex bag depending on what fabrics you use. Here are a few photos to demonstrate!

Worn around the waist

Worn on the back but can also be worn on the front if you prefer

Nice and deep exterior pocket with a flap closure

Zippered pocket inside the front flap

Another view of that front pocket

2 slip pockets inside the bag
The Orchid Waist bag pattern is available today!

Friday, May 22, 2015

Tutorial: Adding a zippered closure to your Daisy Cross Body Bag

Although I personally prefer a magnetic snap on my own bags, I realize that many prefer zipper closures both for practical and safety reasons. My latest pattern, the Daisy Cross Body bag includes instructions for a magnetic snap closure and I decided to provide a free tutorial for a zipper closure.

Before starting this tutorial, you will need to purchase the pattern and cut out all necessary pieces. In addition, you will need the following:
  • a small piece of quilt weight cotton 1.75" H x 4" W for your zipper end casing
  • Cut (2) Lining Panel on fold in lightweight fusible interfacing 
  • 12" zipper (a longer zipper can be used and cut down)
When applying interfacing to the different pieces, also fuse the interfacing to the wrong side of each lining panel. (This means you do not need the piece of fusible meant to reinforce the interior zippered pocket.)

You should go through the pattern as normal but when you get to the "Lining Assembly" section, do not stitch the inner bands and lining panels together. First, start by installing your zippered pocket and your slip pockets. You should also transfer your pleat marks to the wrong sides of your lining panels before continuing with this tutorial.

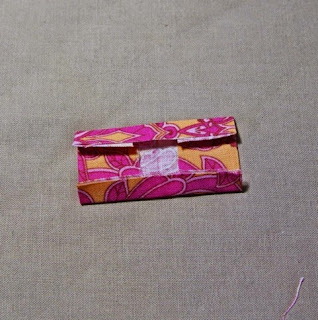
To begin the zipper closure installation, prepare your zipper by adding a casing to the zipper end.

1. Start by taking your casing fabric and fold it in half vertically. Press to create a crease.


2. Open up the casing and fold in both halves about 3/4" towards the crease, wrong sides together.


3. Now fold in the top and bottom in towards the wrong side about 1/4".


4. Slip your zipper end inside the casing and fold the casing in half along the original crease. Press and pin in place.


5. Stitch with a 1/8" seam allowance all around the edges.


6. Now take your 2 inner bands and your 2 lining panels with pockets already in place.


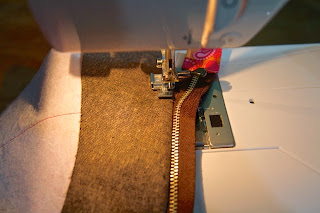
7. Take one lining panel and pin your zipper along the top edge, both right side up. Make sure to fold under your zipper tape at the beginning of the zipper and pin in place approximately 1.5 inches from the left edge.


8. Do the same as the end with the zipper casing. You will want to pull your zipper away from the top edge approximately 1.5 inches from the right edge so that it will not be sewn into the seam.


Zipper end being pulled away 1.5 inches from the right edge of the lining panel.

9. Now you will pin the bottom edge of the inner band to the top edge of your lining panel.


10. When stitching the band in place, again make sure you do not include the last 1.5 inches of the zipper in the seam.


11. Notch the curves of your seam allowance.


12. It is a bit tricky because of the curve of the pieces but go slowly and iron the inner band and lining panel away from the zipper. I find it easier to just press the inner band first, then flip it over and press the lining panel.


13. Topstitch the edge of the inner band.


14. Repeat steps 7 to 13 for the second lining panel and inner band until you end up with this:


15. Continue with the assembly of your lining shell following the patterns instructions. The only difference is that you now have a seam to deal with between the top band and lining panel. Make sure the seam allowance is placed down towards the lining panel when attaching the gusset.


16. You should end up with a lining shell as pictured:


17. When doing your final bag assembly, everything is the same as instructed. Simply open the zipper closure as wide as it will go and insert your exterior shell inside.

Please do feel free to leave comments if you have any questions!

I would also love it if you shared your Daisy bags in my Facebook group.


New Pattern: The Daisy Cross Body bag

I have been busy working on new pattern ideas lately - so many ideas, so little time! My latest pattern is the Daisy Cross Body bag. I wanted a mid-sized bag that included some patchwork and a different type of gusset. I also designed with the possibility of a zipper closure in mind since most prefer that type of closure.


 The most remarkable part of this bag is clearly the dresden plate style patchwork. It does require a bit more time and effort to complete but I think it is well worth it in the end! The possibilities are endless and I've done a bit of fussy cutting for mine.


You can also omit the patchwork - especially if you wish to feature a fabric with a fabulous print.


I do love bags with a gusset but wanted to make this one a little different. I decided to add 4 small pleats to the bottom of the main panels to give the bag even more depth. If you consider the pleats, the depth of this bag is about 7 inches!

I had originally intended for double shoulder straps but after some feedback, I noticed a clear preference for a cross body strap (a personal must for me) so I quickly changed to an adjustable strap.


I decided to create a simpler curve for the bottom of the interior top bands in case someone wanted to install a zipper closure instead of a magnetic snap closure. I did test it out and it worked well so I plan on publishing a free zipper closure tutorial in the near future.


For the bag's interior, I did my usual configuration: 1 zippered pocket and 2 slip pockets. Apart from the different top bands, the construction of the lining shell is exactly the same as the exterior.

The Daisy pattern is now available in my Etsy pattern shop here. If you wish to discuss this pattern or any other pattern I have designed, I have created a Facebook group dedicated to sewing patterns. You can request to join here.

Thursday, April 23, 2015

Pattern Review: The Kentucky Bag

I almost feel guilty writing a review for this pattern because it is no longer available and I've heard a lot of regret from my fellow sewers who were not able to buy it. This pattern is from Numbskull patterns and although they are no longer being sold, it is such a great bag that I wanted to review it regardless!


I've made 2 Kentucky bags so far and although they take a while to sew, they are worth it in the end! There are a total of 4 zippered pocket in this bag. There are 2 exterior pockets: 1 under the flap and 1 on the back.

Zippered pocket under the flap

Zippered pocket on the back exterior

 And 2 additional zippered pockets inside the bag.


The exterior and interior shells are constructed exactly the same way except for the twist lock you add on one exterior zippered pocket.

There are many pieces to cut, interface and assemble to put together all of these pockets. I really loved the accent strip on the bottom of the flap but I was not able to use faux leather as I wanted to with the first bag because it was way too bulky so I ended up using yarn dyed essex linen instead.

With the 2nd bag, I figured out how to use faux leather. I just cut one strip of non-fraying faux leather and removed what would be the 1/2 inch seam allowance on the pattern piece and topstitched it to the bottom of the flap. It worked great and there was no bulk at the seams.

The only thing I did not like about the bag is again the 1/2 inch seam allowance. This is a personal preference for me but I do not like having to watch that little mark on my sewing machine. I like to sew with a 3/8 inch seam allowance - which is essentially the edge of my presser foot - because I can then focus on the quality of my stitching.

This is also not an inexpensive bag to make. The cost of 4 zippers plus the twist lock and metal hardware for the strap and all of the interfacing used makes this a more expensive project. But again, the results are worth it!


Wednesday, April 22, 2015

New Pattern: The Rose Gathered Handbag

I've completely neglected this blog but with good reason - I've been busy! I had a little burst of popularity with my caravan totes so I was very busy sewing and then I got inspired to create a new pattern. This bag is a bit classier than my usual style but when I get an idea, I just have to create!

Introducing the Rose Gathered Handbag:


This bag is entirely made from woven fabrics with a focus center panel and coordinating side panels. Both sides of the bag look the same. There is a flap to which you can add either a magnetic snap or twist lock closure depending on your preference.


To give the bag some depth, I decided on a pleated bottom style with a total of 8 pleats.


On the sides of the bag, I created some channels and added some fabric ties which can be tied into bows or just knots - again, your personal preference!


On the inside, I included instructions for my favourite pocket configuration: 3 slip pockets and 1 zippered pocket.

There is no limit to what you can do in terms of fabric combinations, types of fabric. One of my testers, Rock Baby Scissors, decided to do a lovely rainbow patchwork for the center panel!


You can see more details about this new pattern in my Etsy pattern shop.

Tuesday, March 10, 2015

Pattern Review: The Caravan Tote

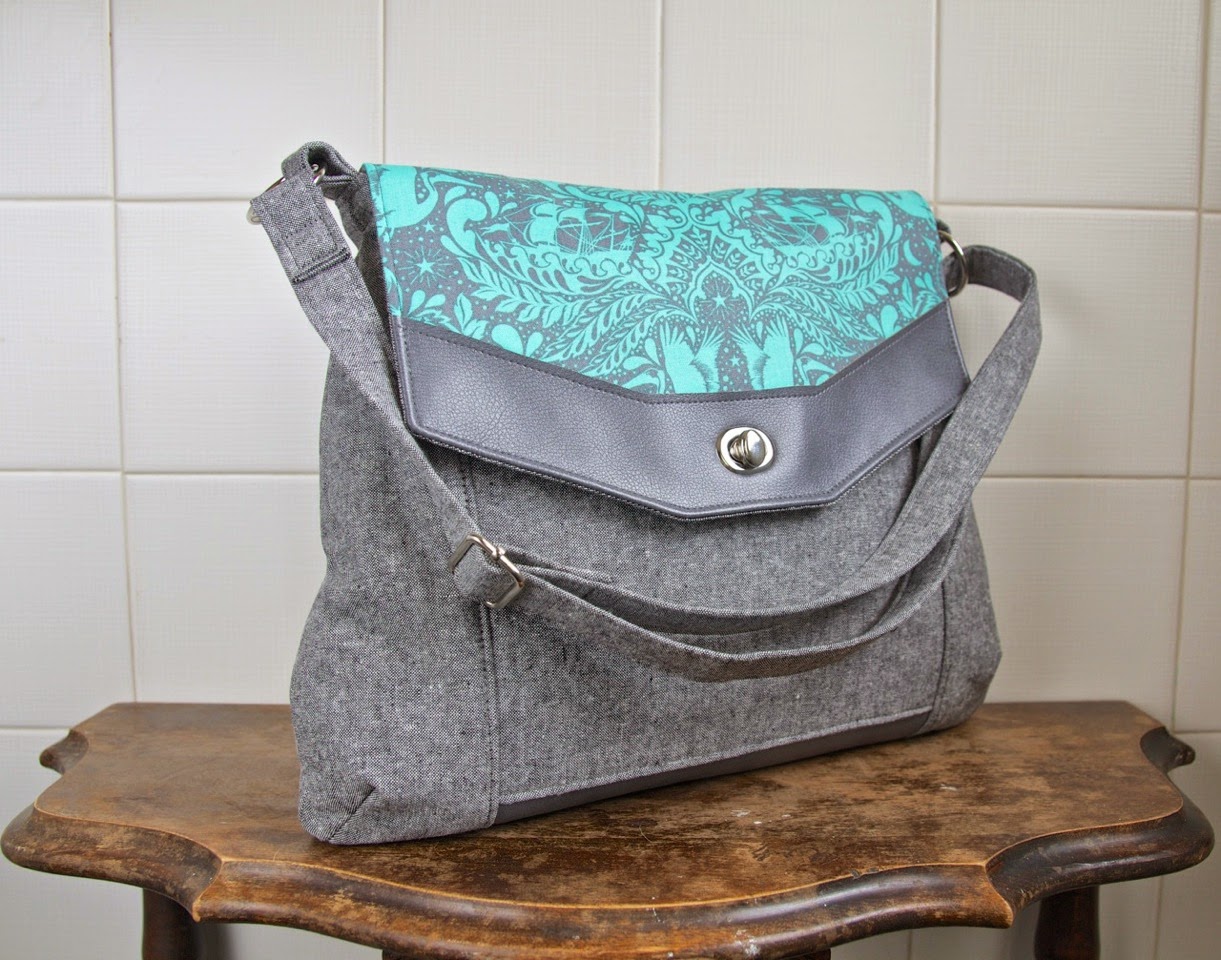
While browsing a fellow Canadian's sewing blog recently, I discovered the Caravan tote pattern by Noodlehead. I have thought about designing a tote bag pattern many times but was never really inspired by an idea. I immediately loved the look of this tote bag and decided to give it a try!


Like all patterns by Noodlehead, the instructions were clear and easy to follow. Although the pattern piece dimensions were provided, I am lazy and prefer to print out the pieces and cut my fabric that way.

However, I did make some modifications because I was missing some notions. I didn't have a 14 inch metal zipper and I thought that the metal zipper in her photos really improved the appearance of the bag. So I ended up using a 12 inch zipper and just increased the width of the zipper tabs. It worked out perfectly!

I also didn't have size 24 snaps so I ended up using some of my cowgirl snaps. They aren't as prominent on the flap but I like that I can match them with the fabrics I used.

I also decided on using real leather for the straps AND I added a leather rectangle to the bottom of the bag. I like to set my bag down and I don't like doing that with fabric bags - they get dirty so quickly! So I stitched up the bottom seam first, pressed the seam open and then stitched on a leather rectangle that matched my straps. I then continued sewing the sides and corners of the bag.


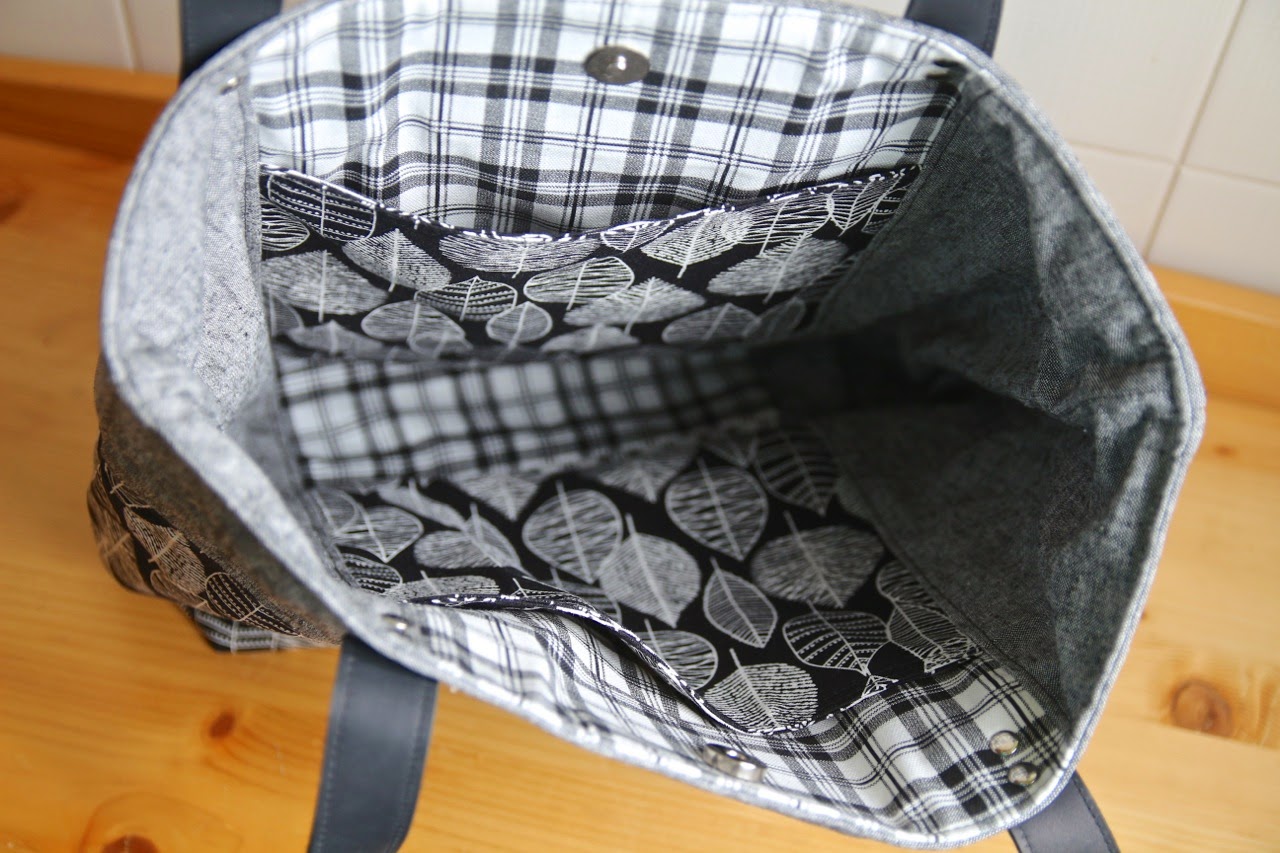
I ended up adding an additional slip pocket inside the bag. It seemed like such a shame that a large bag would only have one slip pocket so my tote has 2.


This bag sews up fairly quickly and it is quite easy to make. The only thing I didn't care for (and this is just my personal preference) was the 1/2 inch seam allowance. I really prefer a 3/8 inch seam allowance because it is so much easier to follow the edge of your presser foot rather than follow a guide line. Again, maybe just laziness on my part!

I plan on making more of these beautiful tote bags! I don't currently carry tote bags in my Etsy shop and my customers seem to really love this design.


Friday, January 30, 2015

The Begonia Convertible Bag - Now Available!

I managed to meet my goal of 2 new patterns this month! I have completed the Begonia pattern and it is now available in my pattern shop.


There are a few flap design options I have not included in the pattern which I will prepare and make available here on my blog as free tutorials. This will include the herringbone patchwork version and the square patchwork you see in the photo above, top left. Stay tuned!